Special update time! As previously mentioned, Badriel, who did all the awesome background art for Aurora’s Nightmare, is now doing the CGs as well. You may remember that, in the past, he wrote a post detailing his background creation process. Well today, he’s back to explain the CG creation process as well, and show off another CG.
-Josiah
Making CG illustrations for a visual novel is much different from making background art, or even character art in form of sprites.
Backgrounds should always have similar perspective properties, so the sprites don’t look like giants and or dwarves, when appearing on the screen.
Sprites should always have fixed dimensions and perspective, the source of light should be the same for the characters, preferably in front of them, so they fit well with the background art.
CG illustrations break all of these rules, because now I have to meet several conditions:
- Make a drawing fitting the scene in the story;
- Make an interesting composition with the focus centred on the lead element of the illustration – most often a character or characters, rarely an object;
- Have the characters and the background in perfect harmony. Considering how different the process of making a background and character art is for me, it’s not as easy as it seems
- Make sure the perspective and the characters aren’t looking strange. As obvious as it sounds, it’s not always so simple. It’s easy to mess up a dynamic scene and have characters look very big, or very small, or tilted sideways.
Here I’ll describe how I made one of the CGs.
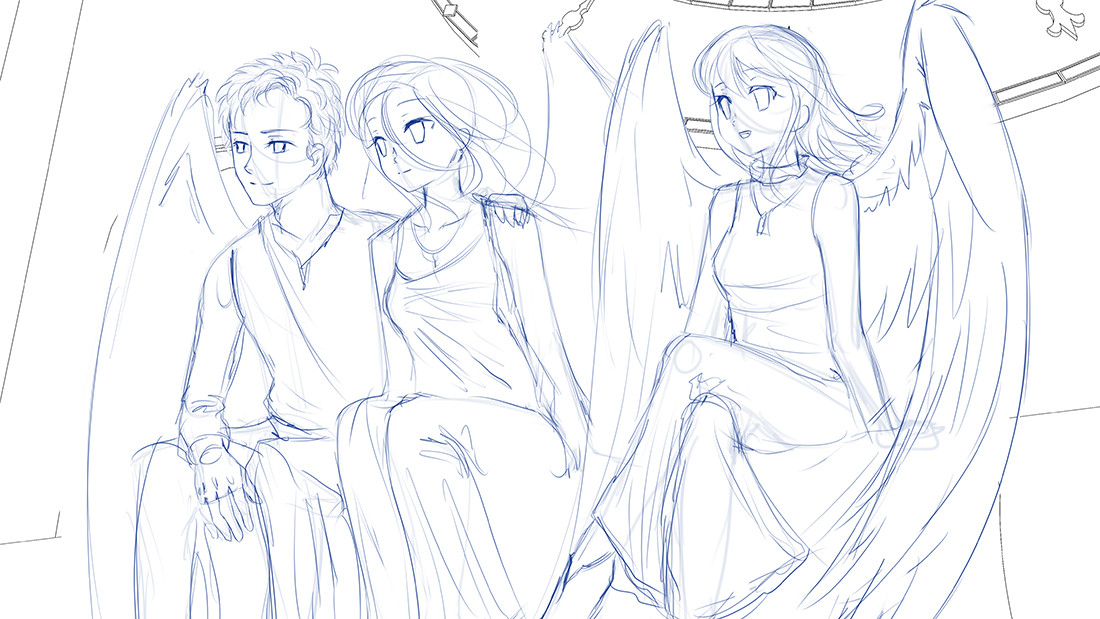
First, I start with a very rough sketch, to get position, perspective and composition. It’s almost stick-figures in level of complexity. I also set up a rough background outline.

Now I sketch up the characters. They’re quite rough. I try to make sure the anatomy’s correct and nothing looks odd. All of the characters sit on a top of an old clock tower in a middle of a grass field. I imagined it’d be very windy up there, so I tried to put an emphasis on that by letting the wind mess with the characters’ hair.
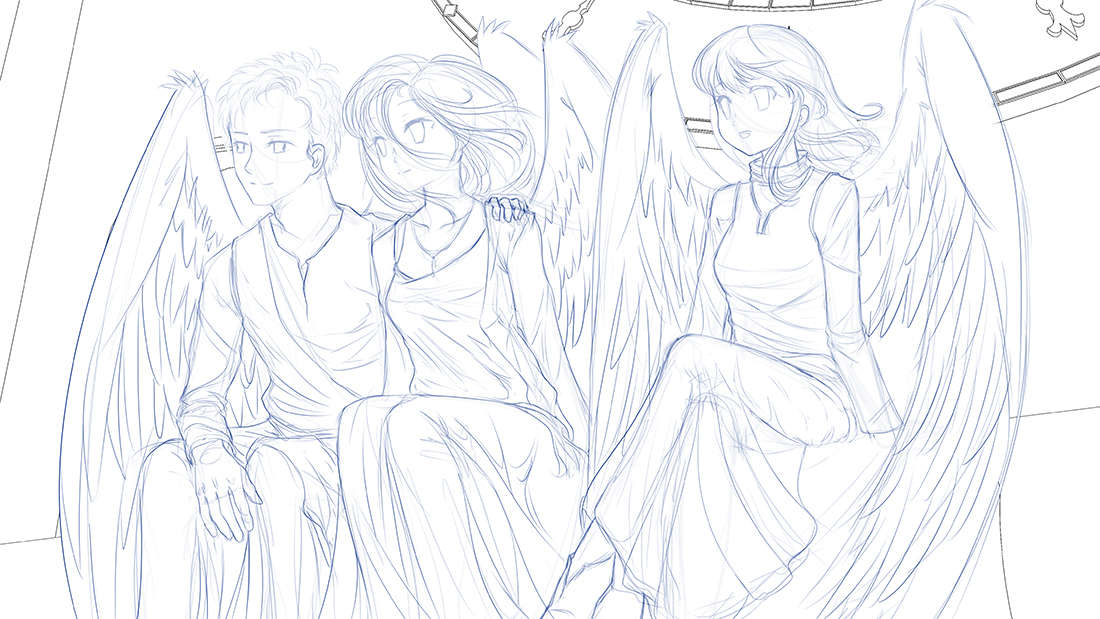
Now I add details to all the messy areas and fix any issues I might’ve made in the previous phase. In this CG, the long robes were a big challenge. All those folds were pretty difficult to make. The wings were another difficult element here, because I had to imagine where would the characters place their wings to not bother each other. This state of drawing is pretty much final, now it’ll all come down to details.
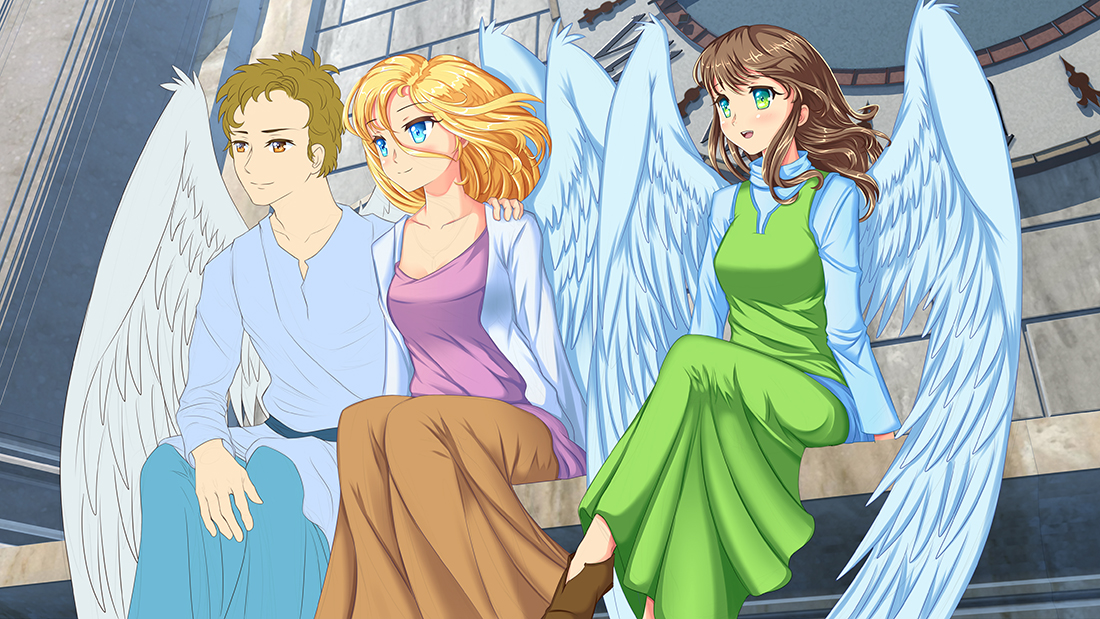
I ink everything. You can still see traces of the old sketch underneath, but it won’t be visible for long. I only keep it as a support for shading. I start working on the bg. For the bg making progress, you can see my other blog post.
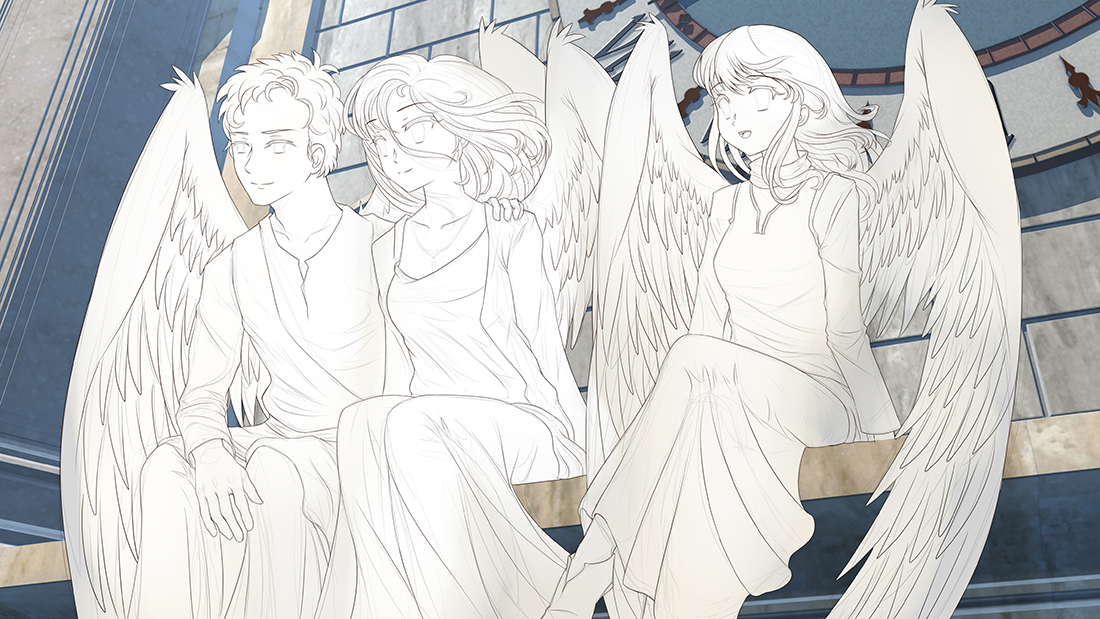
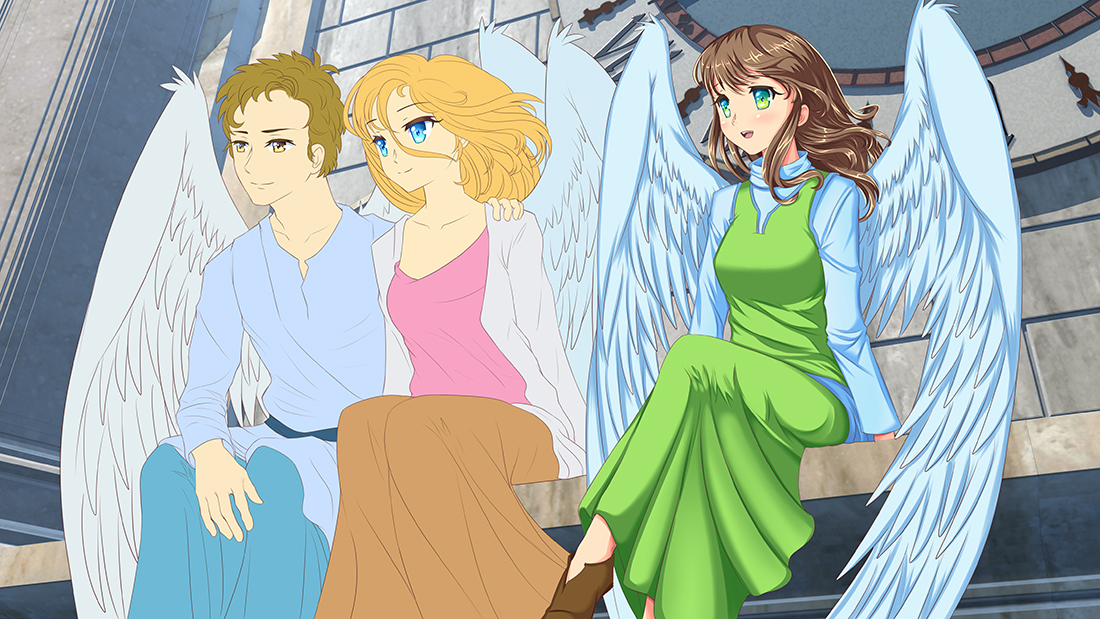
I start colouring the characters. First I flat-shade, then, one by one, I colour and shade the characters.
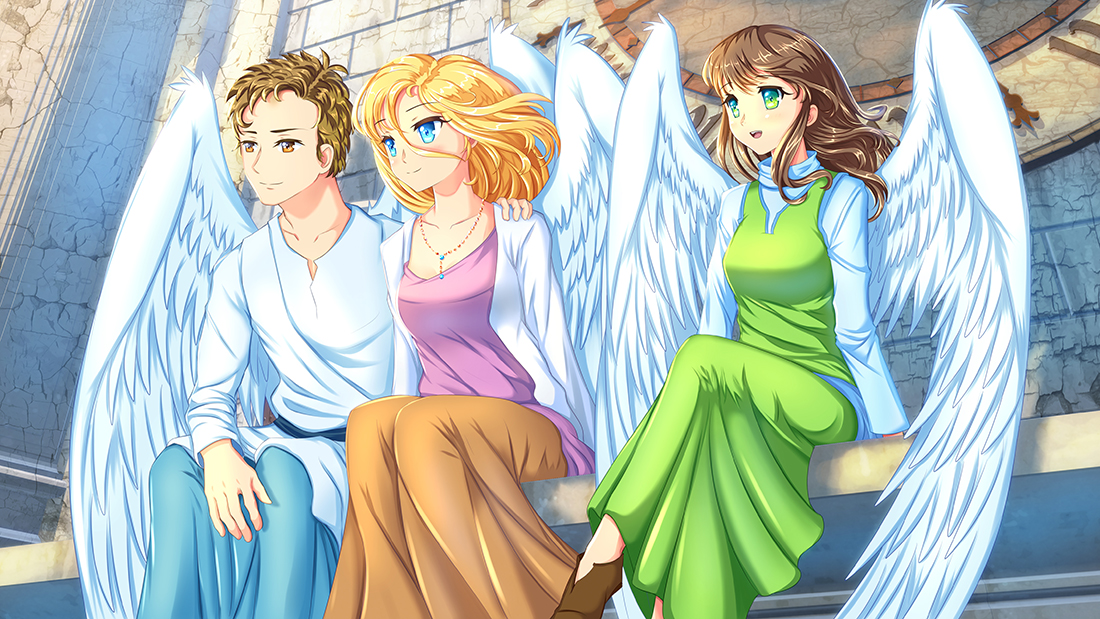
The light in an illustration can completely change the mood, but this scene is rather light-hearted, and so is the colouring.
The colouring is finished and I proceed to working on the background. I tone it and shade according to the scene and characters, so the transition between the two is seamless. I also add some details, like highlights, etc.
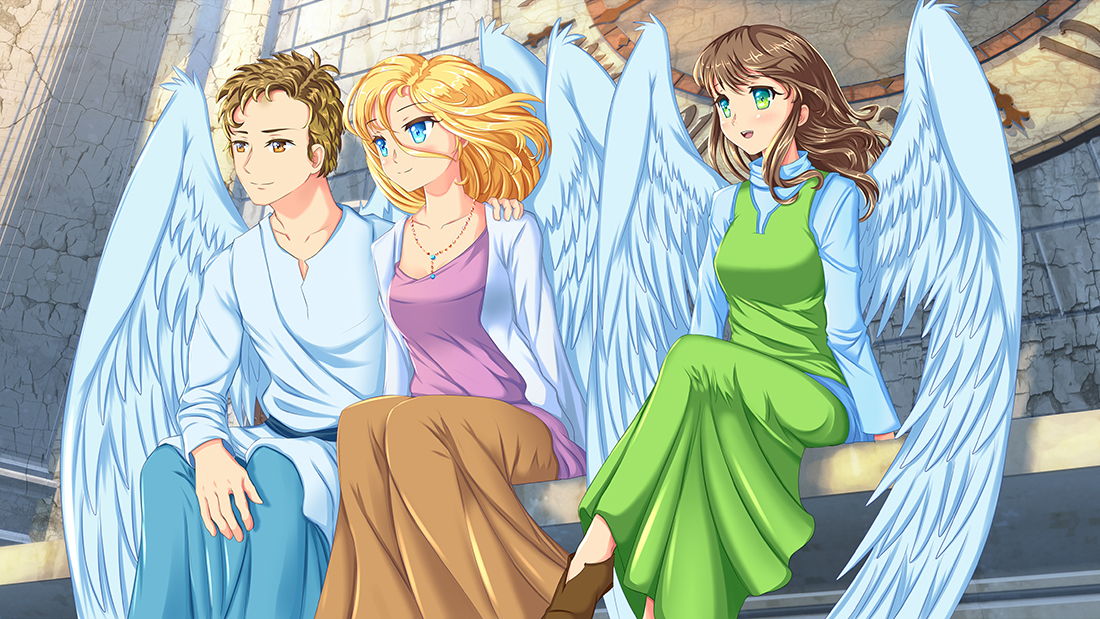
Final adjustments! I add some highlights, adjust contrast and brightness, crop and presto!